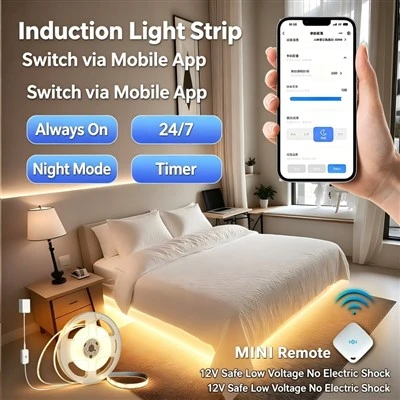
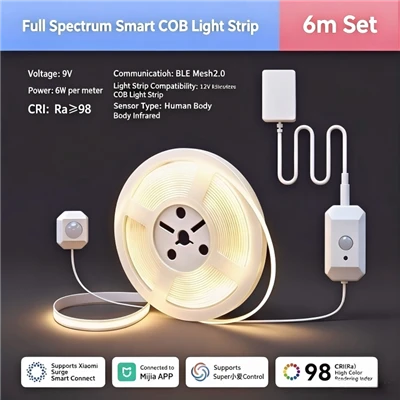
COB LED strip lights are popular for their smooth, dot-free lighting and flexible installation. But before you start cutting, there are a few things you need to know to avoid damaging the strip.
In this guide, we'll walk you through how to properly cut COB LED strip lights, what tools you need, and common mistakes to avoid.

What You'll Need
Sharp scissors or a utility knife
A ruler or measuring tape
A clean, flat workspace
That's it - no soldering required for basic cutting.
Step 1: Measure and Mark
Use a measuring tape to determine the exact length you need. Mark the spot lightly with a pencil or marker.
Tip: Always measure twice, cut once. It's easier to cut a little more and trim again than to cut too short.
Step 2: Find the Cut Marks
COB LED strips have designated cutting points, usually marked with:
A scissor icon
A dashed line
Copper solder pads
These marks indicate where the circuit can be safely severed. Never cut between these marks - doing so will break the circuit and cause part of the strip to go dark.
Step 3: Cut Along the Mark
Using sharp scissors or a utility knife, cut straight across the strip at the marked line. Make sure the cut is clean and perpendicular to the strip.
Some COB strips also support 45° angled cuts, which are useful for creating seamless corner joints without soldering.
Step 4: Check the Cut End
After cutting, inspect the end of the strip:
The copper contact pads should be intact and undamaged.
The cut edge should be clean, with no torn or frayed material.
The LEDs near the cut should still be fully functional.
If anything looks damaged, trim a small section and re-cut at the next valid mark.
Step 5: Test Before Installing
Before mounting the strip, connect it to the power supply and test it. Make sure:
The full length lights up evenly
There are no dark spots or flickering
The color temperature is consistent
Once confirmed, you're ready to install.
Common Cutting Mistakes to Avoid
Cutting at the wrong place - Always cut at the designated marks only.
Using dull scissors - A dull blade can tear the strip or damage the copper pads.
Bending before cutting - Avoid sharp bends near the cut point, as this can crack internal traces.
Ignoring polarity - When reconnecting after cutting, make sure positive (+) connects to positive and negative (-) to negative.
How to Reconnect After Cutting
If you need to join two cut sections, you can use:
Solderless snap connectors - Quick and tool-free
Soldering - For a more permanent connection
Most suppliers include snap connectors with the strip, making reconnection simple and fast.
Cutting Intervals May Vary
Different COB strip models have different minimum cutting lengths. Common intervals include:
Every 3 cm
Every 5 cm
Every 4.5 cm
Always check the product specifications before purchasing, especially if your project requires precise lengths.

Final Thoughts
Cutting COB LED strip lights is simple when done correctly. The key is to always cut at the marked positions, use sharp tools, and test before final installation.
If you're sourcing COB LED strips for a project, choosing a reliable supplier with clear cutting specifications can save you time and reduce waste.